 |
| An extract from the KYB shock catalogue |
165/185 Front Shock Replacement
** This article has pictures from the 165, but the procedure is much the same for the 185 **
** The 205 is NOT the same **
Why do I want to change the shocks?
Things to know before you do the job
Where can I get uprated shocks from?
Check out the links section.
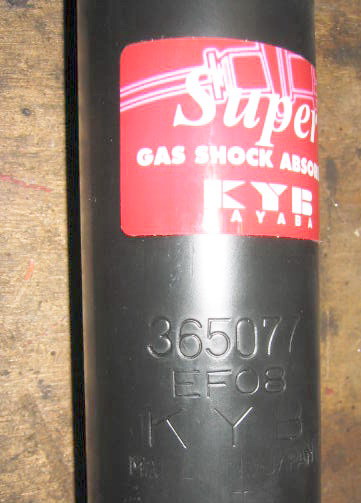
One place to get these from is Fensport. Their KYB 365077shocks are allegedly 20% uprated over the stock units. They are a large step in the right direction, but if money was no object then you might want to have a look at the Whiteline stuff! At the time of writing this Fensport are selling some Whiteline stuff, but some of this is available cheaper from Demon Tweeks!
You could get the 365077 shocks from a parts supplier e.g. Partco, Motaquip, HAE etc. They would be cheaper but the necessary spacer would be missing. If the spacer was flat then this wouldn't be a problem, but it's shaped to the strut securing nut...damn.
KYB manufacture the original shocks and they also manufacture 765015 AGX 4 way adjustable shocks. KYB UK, USA and Japan have confirmed that these will fit but they are 5mm longer than the stock shock. Until I fit one I may never know if they are any good or indeed if they fit! Please e-mail me if you've fitted these!
These shocks are also listed as a direct replacement on the KYB USA downloadable suspension catalogue.
|
| An extract from the KYB shock catalogue |
Did you notice any improvement?
Definitely. The car was much firmer, handling was sharper and less "woolly". Note that the car had all the bushes replaced and also had stiffer springs.
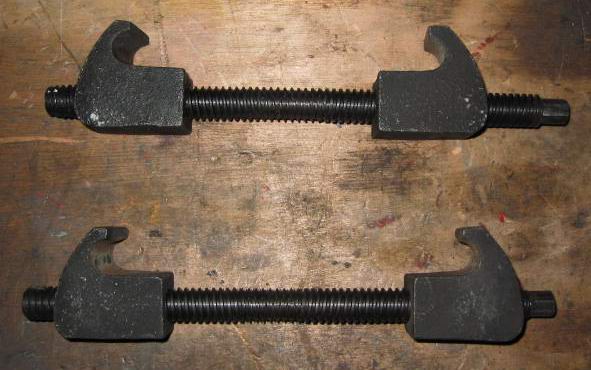
Tools required
The how to...
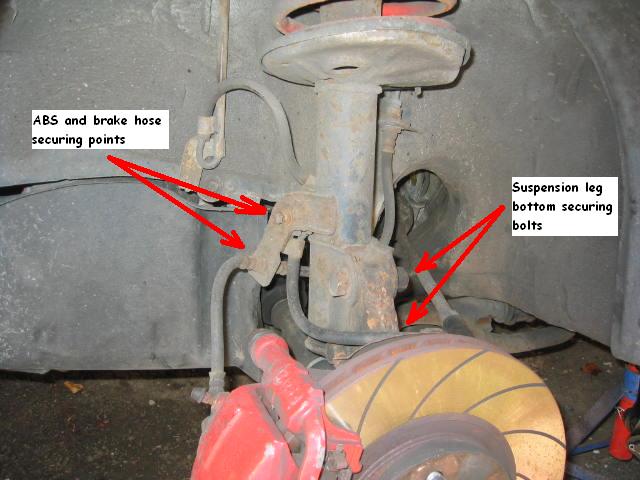 |
Remove the wheel, chock the car and stick in a couple of axle stands. Undo the brake pipe from the suspension leg and then the calliper, feed it up and out of the "loop" on the leg and reattach it back to the calliper to stop it dripping everywhere. Unbolt the ABS securing bit. Loosen both bottom suspension leg bolts and remove 1 of the bolts. Note do not push the bolts through with your finger, you might loose it if the car or strut moves! |
| Cover the CV joint boot with an old rag to prevent accidental damage/splits! Remove all three of the top nuts securing the leg to the suspension turret. Remove the last bottom bolt and pull the entire leg out from the car, click here for an article on how to replace the suspension springs | |
 |
Once the spring has been removed, pull off the bump stop and unscrew the large nut at the top of the shock in order to pull the shock out from the suspension leg. I removed the large nut by clamping this in a vice and then turning the shock with large screwdrivers placed in the bottom bolt holes. Be careful to keep the shock straight to avoid damaging the top nut and making the job a nightmare. Lubricate the nut copiously and turn forwards and backwards to ease it out without damaging anything...A very small amount of pressure was released on breaking the seal between the shock and top nut, wear goggles to prevent any accidents |
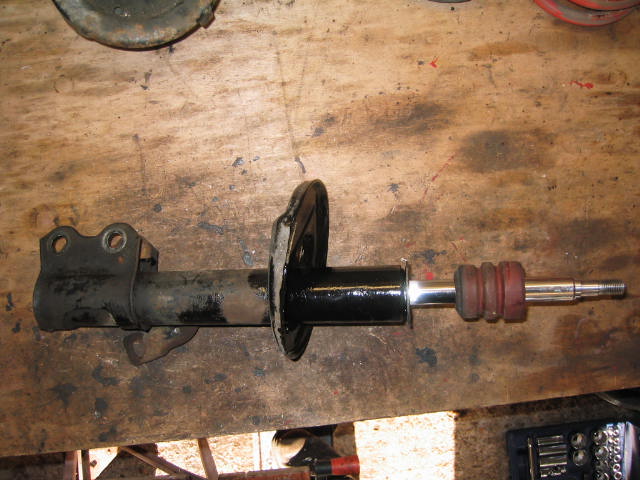
| Once the nut is removed the shock simply slides out from its housing. Have a bucket handy for all the old oil | |
  |
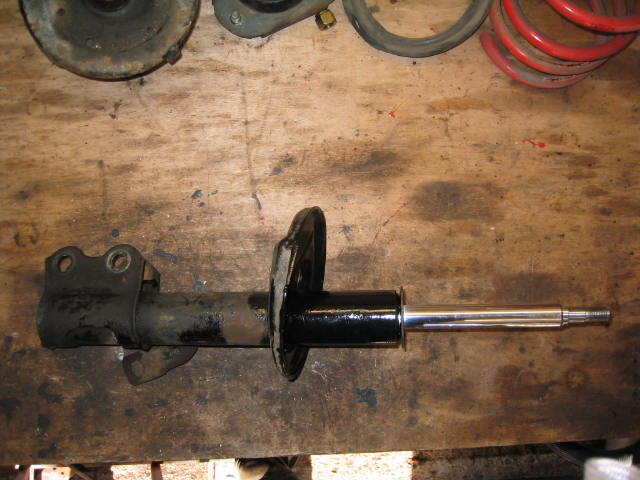
The old and new shocks. You can clearly see the difference in length between the stock shock and the KYB 365077, that's why you need the "domed" spacer (supplied as part of the kit when bought through Fensport). This shock is a direct fit for the 185, no space should be utilised when assembling the suspension leg. |
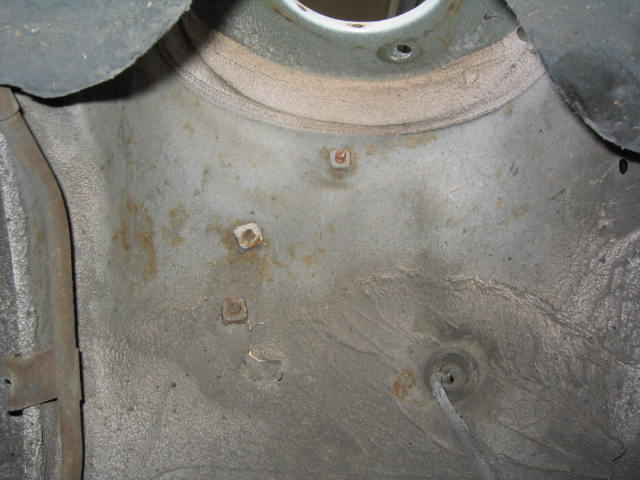 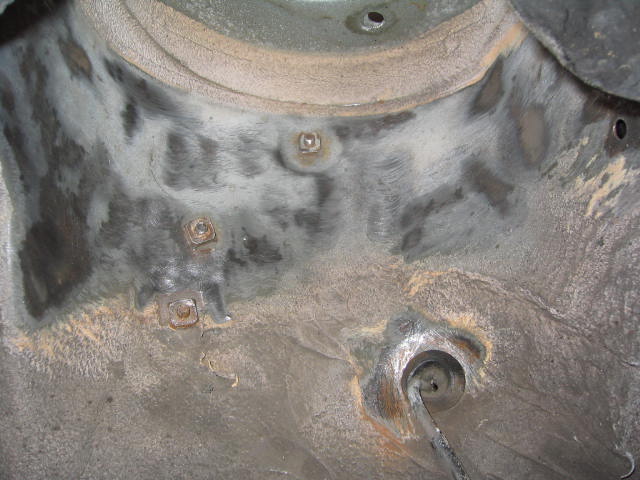 |
I treated the top of the suspension turrets for rust, these are the same as the rears and totally missed by rust proofing by Toyota... I cleaned up the suspension leg from loose rust and gave it a coat of anti-rust and Hammerite before I reassembled it. |
 |
Assembling the suspension is pretty straight forward. Slide the shock back into the strut... |
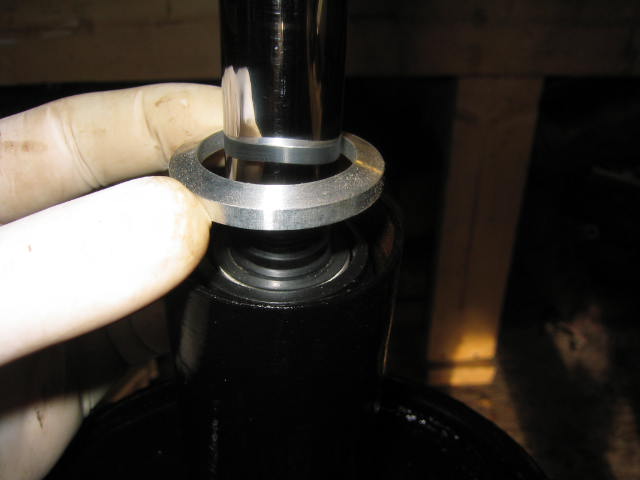 |
Stick the "domed" spacer on top of the shock...(applicable to the 165 only) |
 |
Do up the strut nut. Make sure that the shock cannot move around inside the suspension leg when the nut is done up. If it can then you'll need to tighten the nut even further |
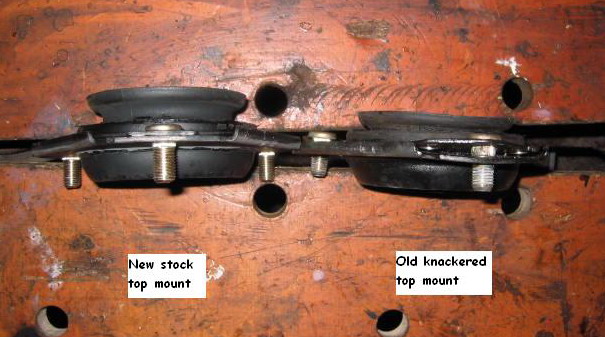 |
Before refitting the springs etc examine the condition of the top mounts. The picture shows old and new top mounts; on the right the old ones are considerably smaller that the new ones. Also the bearing wears with use. To check the wear this pop the mount onto the shock and try to rock this from side to side, any movement indicates a knackered top mount, get a new one! The bearing cannot be replaced on it's own, the whole top mount must be replaced |
 |
The top of the top suspension mount; note the open cage bearing that, if not adequately protected will fail prematurely. Make sure you fit new dust covers before reassembling the suspension |
| Assembly is the reversal of the removal, see the how to change the springs article for help | |
| Once reassembled, make sure that all of the brakes are bled, starting with the rear left hand side |
Any questions or comments then please feel free to e-mail me
Safety