 |
 |
| 165 torque specifications | 185 torque specifications |
Things you should know before
Torque specifications
All stated in Nm
|
|
|
| 165 torque specifications | 185 torque specifications |
Tools
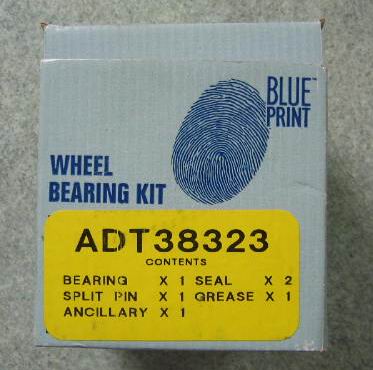 |
I found the best/only parts source to be Blueprint, part number as shown. Obtained from a local motor factors |
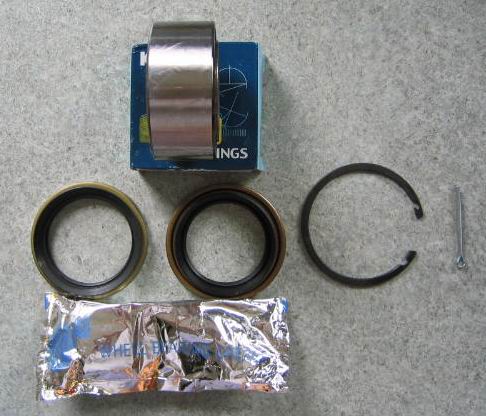
| Included in the kit is the wheel bearing, 2 x seals, circlip, split pin and grease | |
 |
Side view of bearing indicating size |
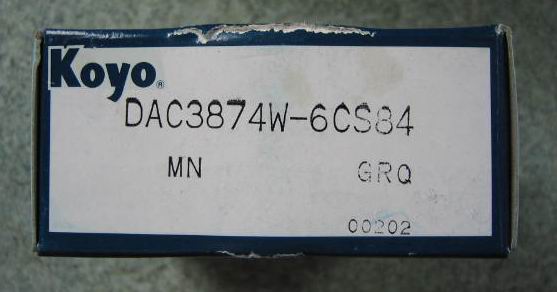 |
The replacement bearing number, the original bearing is an NSK 388WD01A1a |
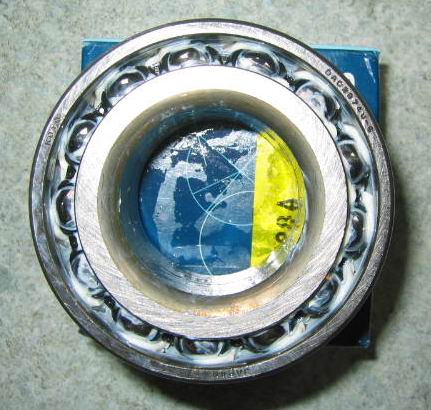 |
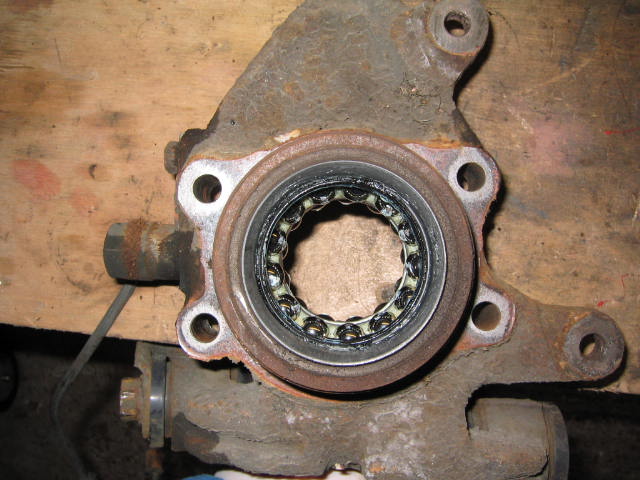
The original and replacement bearings are both of the open cage design |
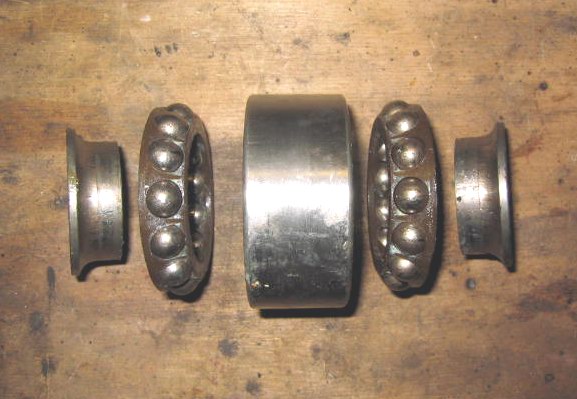 |
Once split apart the bearing looks something like this... |
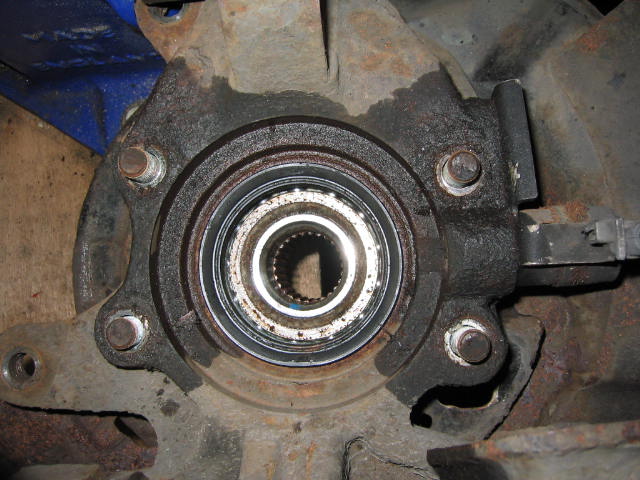
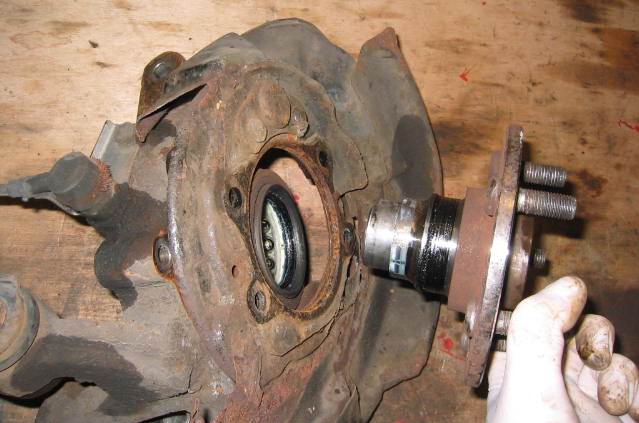
| Next up is to remove the hub from the car. Follow the procedure from my bush replacement article | |
 |
This can be done later, but I did it now. Lubricate the 4 x backing plate nuts and undo them |
 |
The bolts will tap through and you can extract them through the larger hole in the axle shaft plate |
 |
All 4 bolts removed |
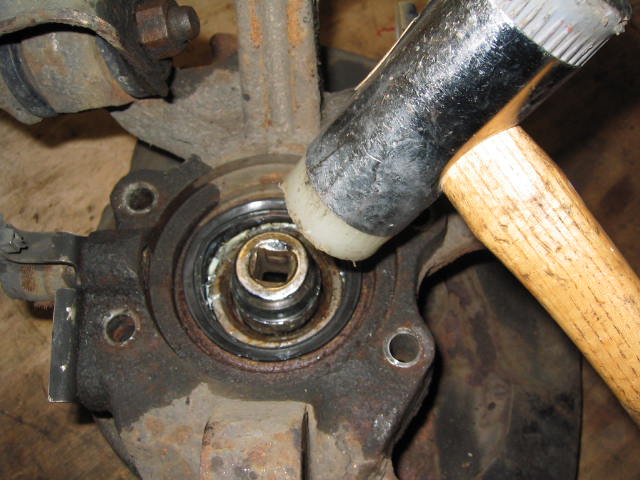 |
The axle shaft can be eased out with the aid of a hammer and appropriately sized socket - 11/16" if I remember correctly. Bash it through, and catch it before if falls on the floor - you really don't want to damage it! |
 |
The axle shaft separates from the axle carrier |
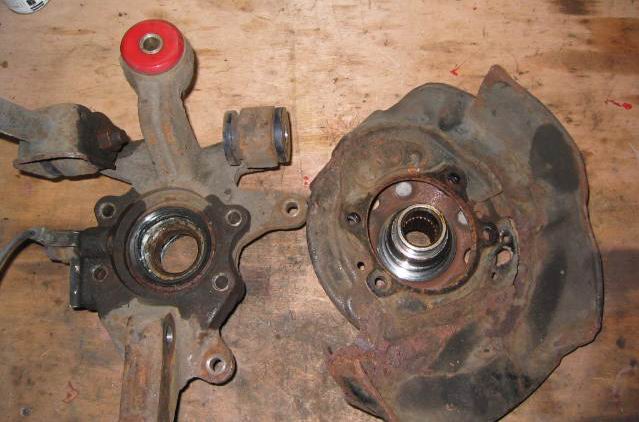 |
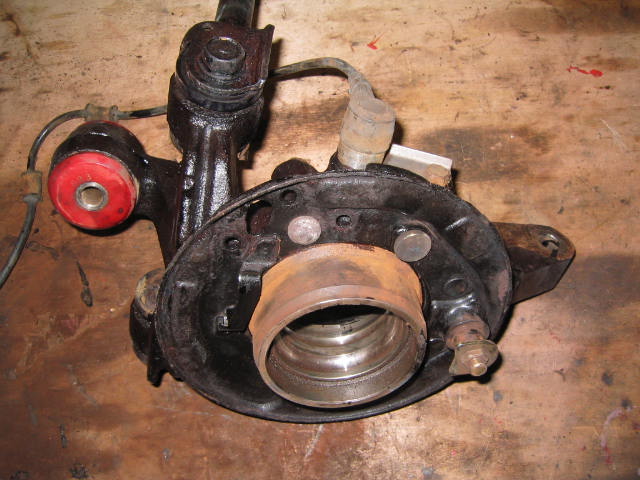
The three sections, axle shaft, axle carrier and the backing plate |
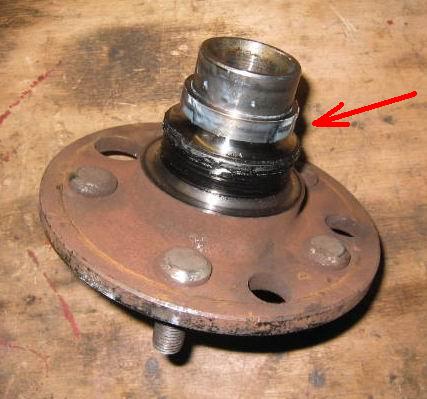 |
One half of the bearing housing will be left on the axle shaft as shown. This was a pain to remove. Hammer a punch down through from the holes in the axle shaft, gradually easing the bearing housing down. I needed a heavy hammer, some heat and some cooling to shift it. Be careful not to damage the axle shaft |
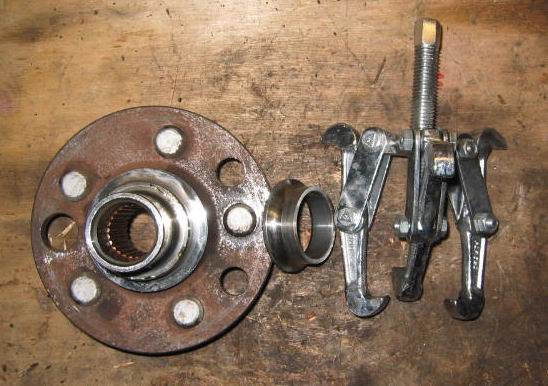 |
Once there is enough room then you can pull the bearing housing off with a bearing puller |
 |
The other outer bearing housing can be pushed out by hand leaving the 2 ball races which can be popped out by hand and the outer bearing housing |
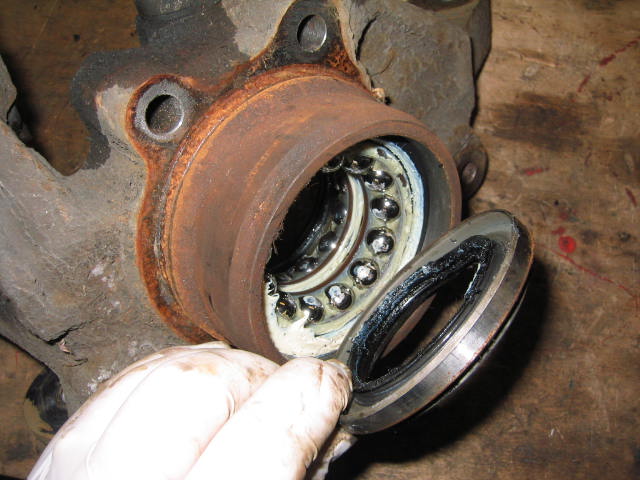 |
Lever the seals out from the axle carrier. These were a little difficult to remove, and you WILL need new ones |
 |
Remove the circlip, so that the bearing can be pushed out. Notice the ball races have been popped out. Now it's nearly time to use to press... |
 |
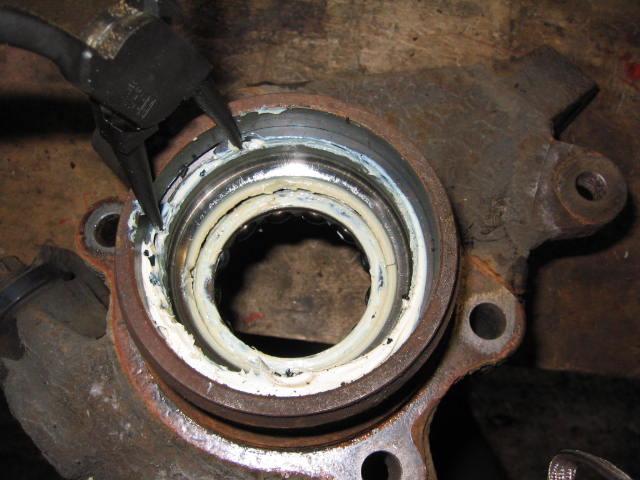
To stop any crap falling into the new bearing and to halt the rust (for a while) I painted the axle assembly with an anti-rust treatment |
 |
|
| Pressing the bearing out was a git. Replace the inner race and inner bearing housing into the bearing and push through from the back to the front. Mine took ~4 tons to get it out. | |
| Clean everything up and ensure no crap can fall into your lovely new shiny bearing. Press in the new bearing, pushing on the OUTER housing only, (so as not to damage the bearing assembly). Fit the circlip and then press in the seal. Note that there are 2 sizes of seal. Install the one that fits snugly onto the axle shaft - the smaller one. I fouled up here and pressed the seal in too far. The metal portion of the seal needs to sit flush with the axle carrier...foul up picture shown at the end...The seal is awkward to fit as it's very snug. This is best pressed in with a correctly sized socket - watch out to press the seal in evenly, or you'll need a new one | |
| Next refit the backing plate to the axle carrier and torque up the nuts to 72Nm | |
| Thoroughly grease up the outer bearing and housing and install, and then press the axle carrier onto the axle shaft until the shaft will not travel any further | |
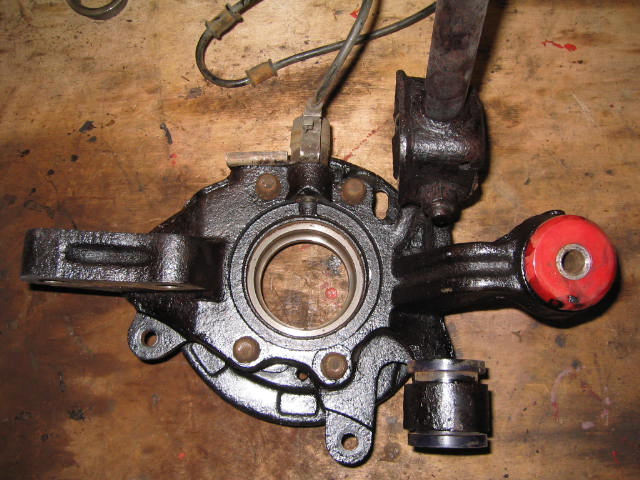
| Thoroughly grease up the inner bearing and housing, and then press in the other remaining seal. Reattach the hub to the car | |
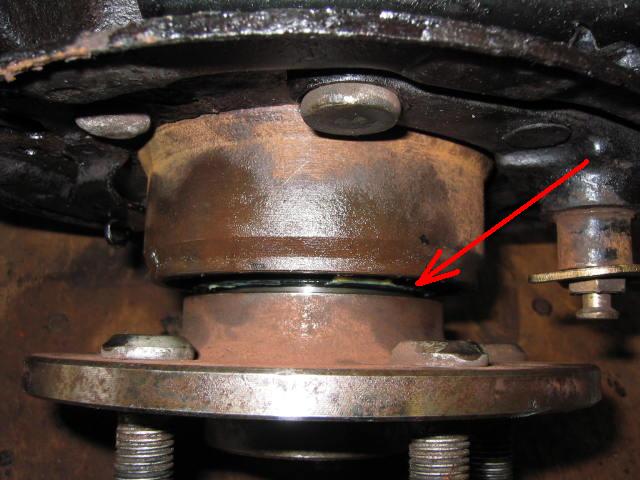 |
Pressing the seal in too far leaves a gap where the seal should meet the face of axle shaft. However, this isn't disastrous since this is sealed twice, once on the outer edge and again on the axle shaft. I'm only relying on the inner seal, don't make the same mistake as me! |
Any questions or comments then please feel free to e-mail me
Other jobs to do at the same time?
Safety