 |
 |
 |
 |
 |
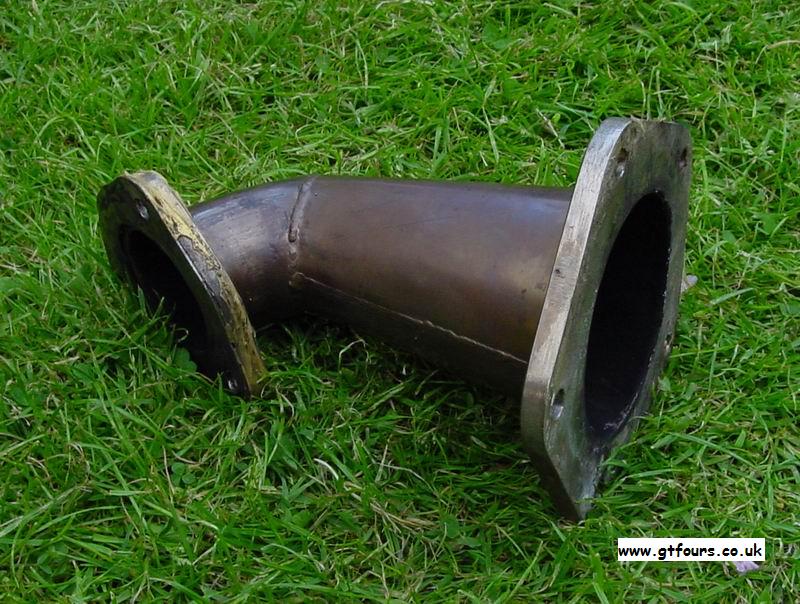
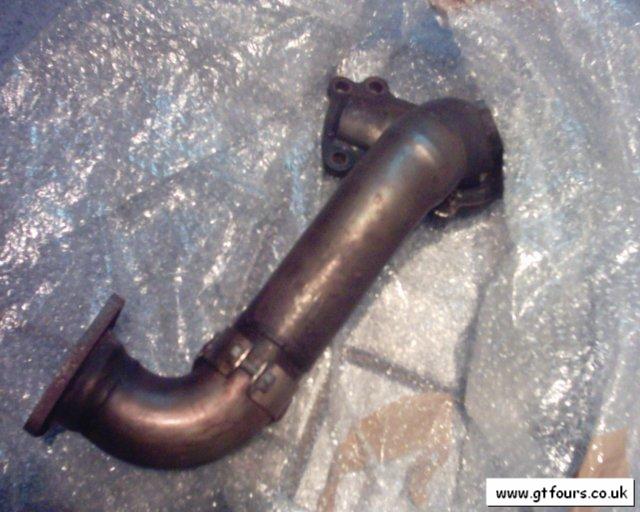
| Blitz | Hyper Sports 2.5" | Hayward and Scott 3" | Aussie 3" compared to 205 cat | KO Racing |
| More pictures here | More pictures here | More pictures here | More pictures here |
* This article has pictures from the
205, however the procedure is much the same for the 165 and 185 *
Why do I want to fit a downpipe?
To improve turbo spool up time, increase output power ~15bhp/~15lbft, and to save weight ~9kg. My 205 used to have a fairly noticeable "flat spot" at approx 5500 - 6500, this has now disappeared...
Are there different down pipes available?
There are a few different ways to replace the catalytic converter, you can either make one or buy a downpipe. The only available ones at the time of writing are:
|
|
|
|
|
| Blitz | Hyper Sports 2.5" | Hayward and Scott 3" | Aussie 3" compared to 205 cat | KO Racing |
| More pictures here | More pictures here | More pictures here | More pictures here |
Before I start what bits/tools do I need?
Sometimes this is a right git to replace. Soaking the nuts and bolts overnight with plenty of WD40 may well help...prepare for the worst and allow 8 hours if it decides the cat does not want to come off!
How did you fit the downpipe?
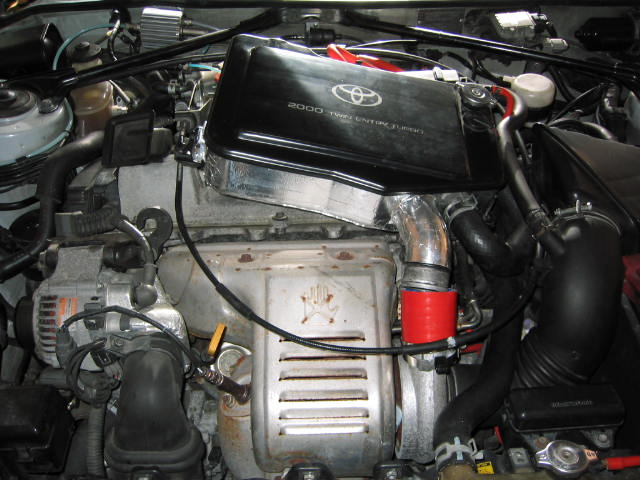 |
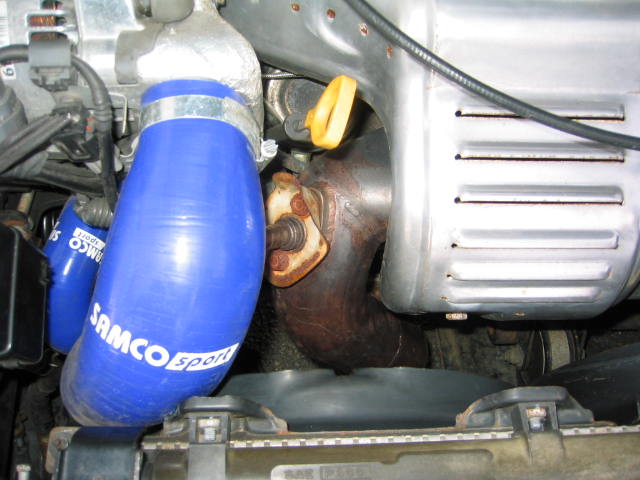
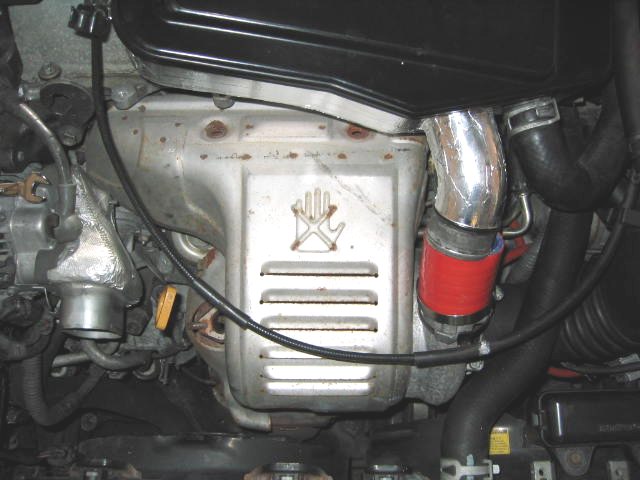
Remove the IC, 3 x 12mm head bolts. Slacken the turbo to IC hose jubilee clips and IC to TB jubilee clip. Pull intercooler free from the turbo hose and then out from the TB - same for 165 and 205 |
 |
Remove the lhs radiator fan - 3 bolts, 2 top and 1 bottom in middle, lift up and out from the car. Also remove:
|
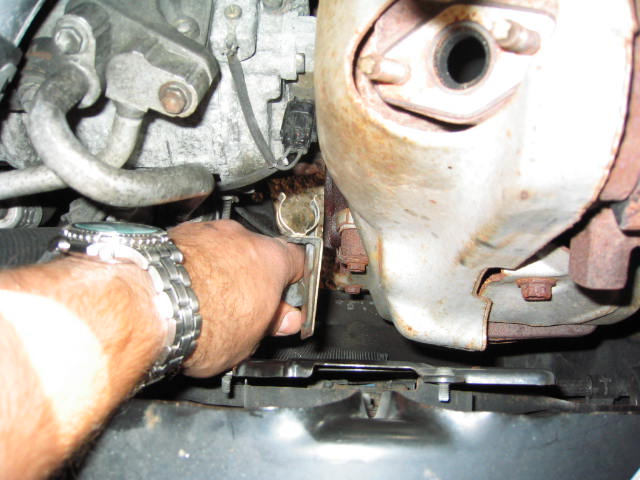 |
The cat shielding was a pain to remove and one of the bolts was seized, so the shielding had to be levered off from around the bolt with a crow bar, and destroy it...bugger. To gain access to the lhs cat heat shield bolt, the lower rhs aircon compressor bolt and bracket needs to be removed, (not applicable on the 165) |
 |
There are 2 cat mounting/support brackets; 1 on left, 1 on right. On the lhs remove this from the block, the rhs undo from cat, and completely remove the bracket later. A 165 cat is shown here with both brackets attached, this is the same securing arrangement for the 205 |
| Next remove 7, (4 on the 165 and 6 on the 185), cat nuts to turbo exhaust housing. Remove 3 x nuts from cat to exhaust, remove and also remove the studs from where the cat joins the exhaust. You might need some Torx bits for these. I only managed to remove 1 but it helped a lot, (the lower one - the rest were knackered). If some or preferably all the turbo to cat studs come out then the job will be much easier | |
 |
Lever the cat away from turbo and push down and off the studs, then lift the cat off the exhaust and up and out of the engine bay, sounds easy but it's a right git! You might want to remove the radiator to give you more room, but it CAN be done with the radiator in the car, just watch out that you don't damage the radiator fins |
 |
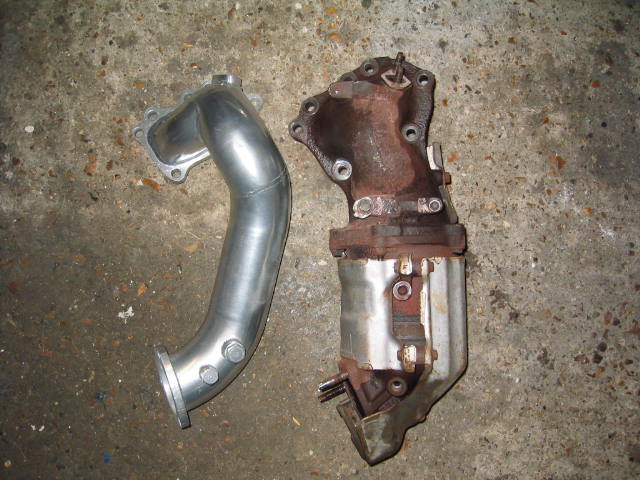
The DP is a lot less bulky and simply drops into place. The stock exhaust system is much smaller than the Aussie 3" DP and I used a stock cat to exhaust compression gasket and some assembly paste to seal it all up on the bottom end. For the top I just used the original metal gasket |
| Refit all the bits and bobs you removed, start the car and check for exhaust leaks |
Anything else to know?
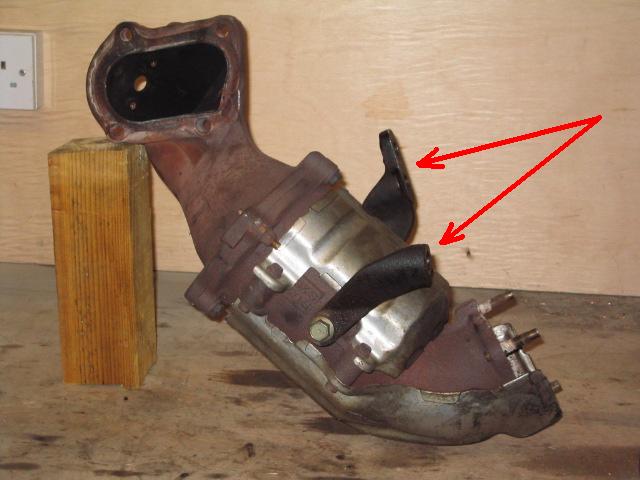
There is an additional sensor fitted in the cat in the Jap models. This is fitted in the lower half of the cat and appears to be a temperature monitoring sensor. When fitting the DP, this can be unplugged from the loom and put some where safe in the garage...Removing this sensor will not cause any error codes to be displayed!
 |
| The Cat Temperature sensor |
Any questions or suggestions then please feel free to e-mail me especially if you've got some decent pictures!
Many thanks to Mark Freestone for supplying the additional HSR DP pictures